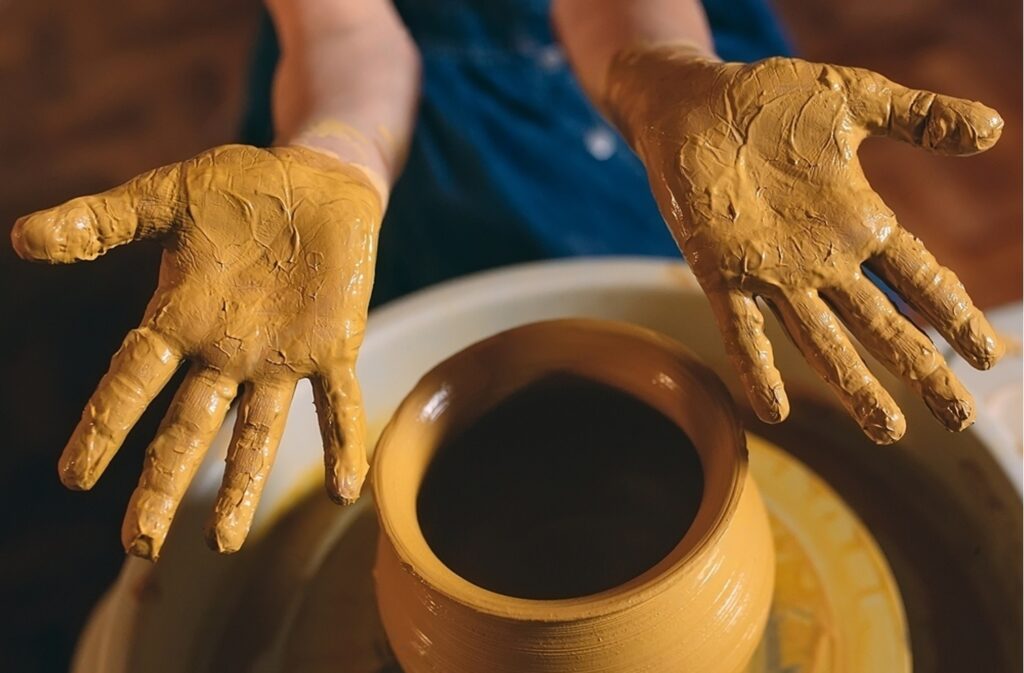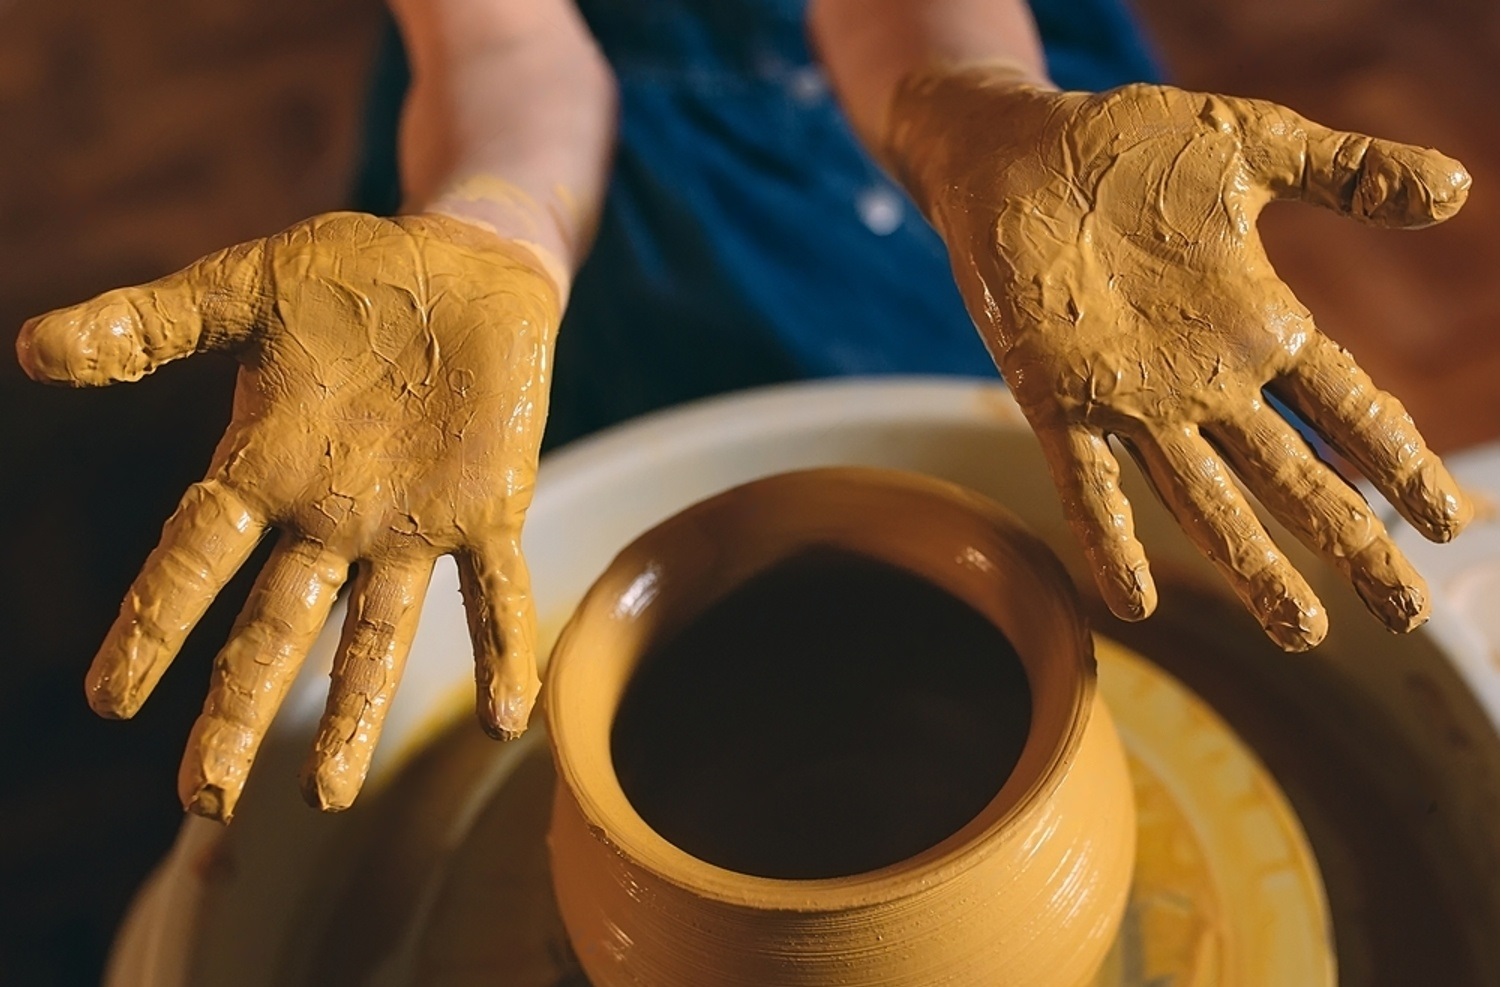
Hand-building pottery is an ancient and deeply personal form of ceramic creation that allows for a unique connection between the artist and the material. Unlike wheel throwing, hand-building relies solely on the use of hands and simple tools to shape the clay, offering endless possibilities for creativity and expression. In this blog post, we will explore the fundamental techniques of hand-building pottery, along with some useful tips to help you refine your craft.
1. Pinch Pot Technique
The pinch pot technique is one of the oldest and simplest forms of hand-building. It involves shaping a ball of clay into a hollow form using your fingers.
Steps:
- Prepare the Clay: Begin with a ball of clay, roughly the size of a tennis ball. Knead it to remove air bubbles and ensure an even consistency.
- Create a Hollow Form: Hold the clay in one hand and use your thumb to press into the center of the ball, creating a small indentation.
- Shape the Pot: Pinch the clay between your thumb and fingers, gradually rotating the ball and thinning the walls to the desired thickness. Smooth the surface with your fingers or a sponge.
Tips:
- Keep the walls uniform in thickness to prevent cracking during drying and firing.
- Experiment with different shapes and sizes by adjusting the pressure and positioning of your fingers.
2. Coil Building Technique
Coil building involves rolling out long, snake-like coils of clay and stacking them to create a desired form. This method is excellent for creating larger and more complex shapes.
Steps:
- Roll the Coils: Roll out even coils of clay on a smooth surface, ensuring they are of consistent thickness.
- Build the Base: Form a base by coiling a spiral and smoothing the seams together with your fingers or a rib tool.
- Stack the Coils: Add coils on top of the base, scoring and slipping each coil before attaching to ensure a strong bond. Smooth the joints as you go.
Tips:
- Use a template or form to help maintain symmetry and shape.
- Blend the coils well to avoid weak spots and ensure a smooth surface.
3. Slab Building Technique
Slab building involves rolling out flat pieces of clay and assembling them to create various forms. This technique is versatile and ideal for creating geometric shapes and functional pieces like mugs and boxes.
Steps:
- Roll Out the Slabs: Use a rolling pin or slab roller to roll out even slabs of clay to the desired thickness.
- Cut the Shapes: Cut the slabs into the required shapes using a knife or template.
- Assemble the Pieces: Score and slip the edges before joining them together. Use coils to reinforce the seams and smooth the joints.
Tips:
- Allow the slabs to firm up slightly (leather-hard) before assembling to prevent warping.
- Use a support or mold to help maintain the shape while the piece dries.
4. Sculpting Technique
Sculpting allows for free-form creation and detailed work, making it ideal for creating intricate designs and figures.
Steps:
- Create an Armature: For larger pieces, create a support structure using wire or other materials to help maintain the shape.
- Add Clay: Gradually add clay to the armature, shaping and refining the form as you go.
- Detail Work: Use sculpting tools to add texture and details to your piece.
Tips:
- Work in stages, allowing the clay to firm up between sessions to avoid distortion.
- Keep your tools clean and use water sparingly to avoid weakening the clay.
5. Combining Techniques
Often, the best results come from combining multiple hand-building techniques. For example, you might use slab building for the body of a mug and add a sculpted handle or decorative elements using the pinch or coil technique.
Tips:
- Experiment with different combinations to find what works best for your creative vision.
- Keep a sketchbook to plan and visualize your projects before starting.
Additional Tips for Successful Hand-Building
- Work at the Right Consistency: Clay that is too wet can be difficult to shape, while clay that is too dry can crack. Aim for a leather-hard consistency for most hand-building work.
- Keep Tools Handy: Basic tools like ribs, knives, and sponges can help refine your work and achieve desired textures and finishes.
- Patience and Practice: Hand-building is a skill that improves with time and practice. Don’t be afraid to experiment and learn from your mistakes.
- Proper Drying: Allow your pieces to dry slowly and evenly to prevent cracking. Cover them with plastic and uncover gradually to control the drying process.
Hand-building pottery is a rewarding and versatile technique that offers endless possibilities for creativity. By mastering the pinch, coil, slab, and sculpting techniques, you can create unique and beautiful pottery pieces that reflect your personal style and vision. Remember to be patient, practice regularly, and most importantly, enjoy the process of bringing your clay creations to life.
